


How to do a Provisional Cast On
Get Started | 1 min read time
Tutorial Overview
A provisional cast on is a way of temporarily casting on stitches that you can pick up and continue knitting at a later stage. There are a few different methods for creating a 'provisional cast on'. In this tutorial we'll show you a very similar way to the long tail cast on.
Top Tip: Use a contrast colour to make it easier to identify the temporary stitches later on.
Watch
Step-by-step guide
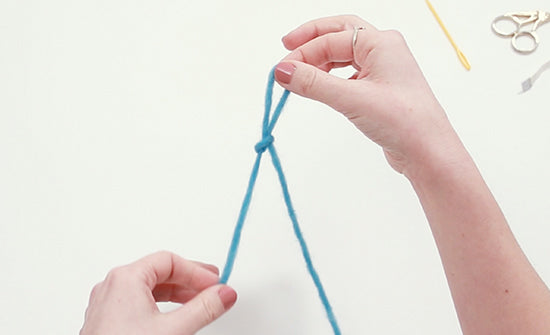
Step 1:
First, we'll make a slip knot, using both our main and contrast colour yarn together.
Top Tip: The slip knot does not count as a stitch when using this method!
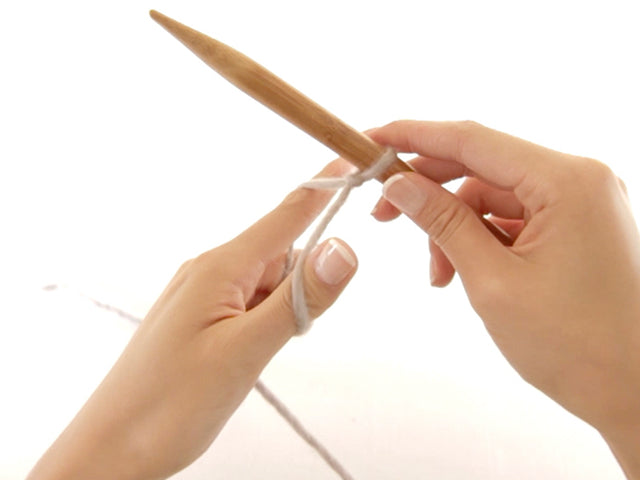
Step 2:
Place the slip knot on your right-hand needle.
Step 3:
Then hold the working tail (leading to the yarn ball) in your main colour over your forefinger, and the working tail (leading to the yarn ball) in your contrast colour around your thumb.
Step 4:
Bring your needle under and through the contrast yarn at the front, then around and over your main yarn, pulling your main yarn back under through the contrast yarn loop.
Step 5:
Tighten the loop around your needle to form your first stitch.
Step 6:
Repeat to cast on the next stitch: bring your needle under and through the contrast yarn at the front, then around and over your main yarn, pulling your main yarn back under through the contrast yarn loop.
Step 7:
Tighten the loop around your needle to create your second stitch.
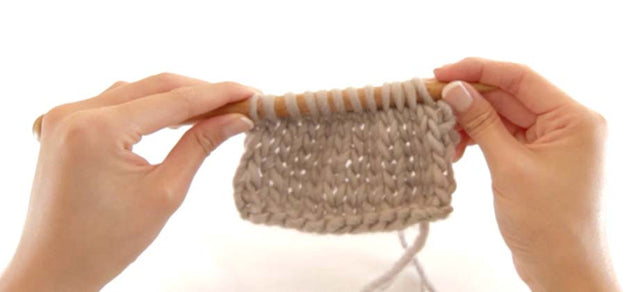
Step 8:
Repeat these steps until you have cast on the required number of stitches.
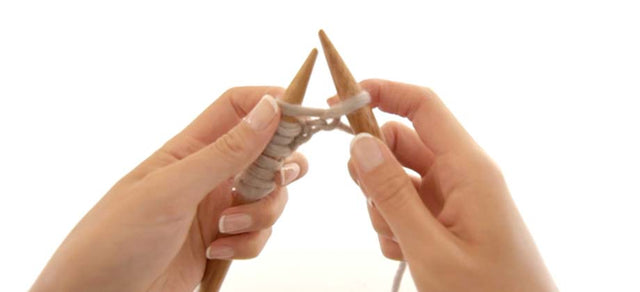
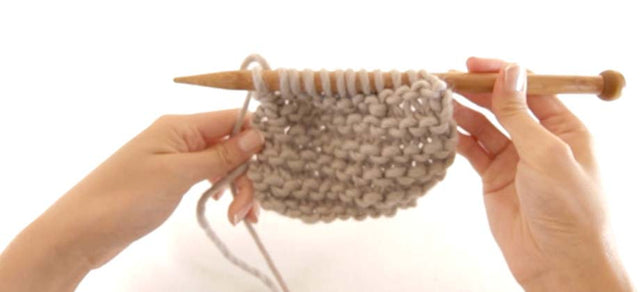
Step 9:
The stitches on your knitting needle should be made up of your main yarn, with the contrasting yarn laying along the bottom of the stitches. The contrasting yarn will hold the stitches in place while you work on your project.
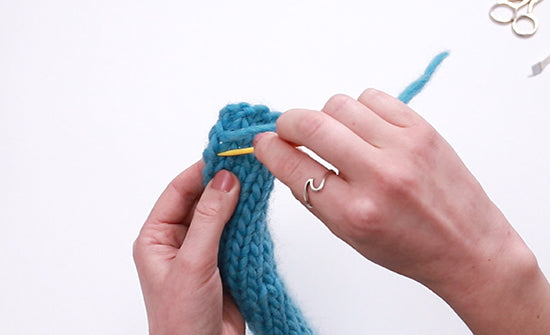
Step 10:
When you’re ready to pick up the stitches made in your provisional cast on, release the slip knot, and carefully pick out the contrast colour yarn from the stitches.
Step 11:
Release one stitch at a time and place the live stitch onto your knitting needle.
Step 12:
Take your time undoing the stitches, removing the contrast colour yarn carefully and slipping each released stitch onto your knitting needle.
Step 13:
Once all the stitches are on your needle, you can continue knitting following your pattern.
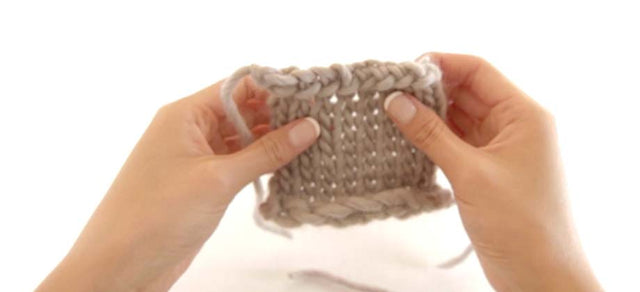
Top Tip
Be careful not to twist any stitches. The right leg of each stitch should sit at the front of your needle, and the left leg should sit behind your needle. If you come across any twisted stitches, correct these before you knit into them.
You can now use the provisional cast on in your project!
< See all Knitting Video Tutorials
How to Create a Slip Knot
Get Started | 1 min read time
How to Create a Two Needle Cast On (co)
Get Started | 1 min read time
How to Create a Long Tail Cast On (co)
Get Started | 1 min read time

How to Create a Knit Stitch (k)
Get Started | 1 min read time

How to Create a Purl Stitch (p)
Get Started | 1 min read time
How to Create Garter Stitch
Stitches | 1 min read time
How to Create Stocking Stitch
Stitches | 1 min read time
How to Cast Off / Bind Off (bo)
Finish Off | 1 min read time
How to Weave in Loose Ends
Finish Off | 1 min read time